Remote IoT Behind Router (Mac): Secure & Free Access Guide
Are you ready to unlock the full potential of your smart devices and access them from anywhere in the world? Mastering the art of using remote IoT behind a router without relying on MAC address restrictions is the key to secure, seamless, and unrestricted connectivity.
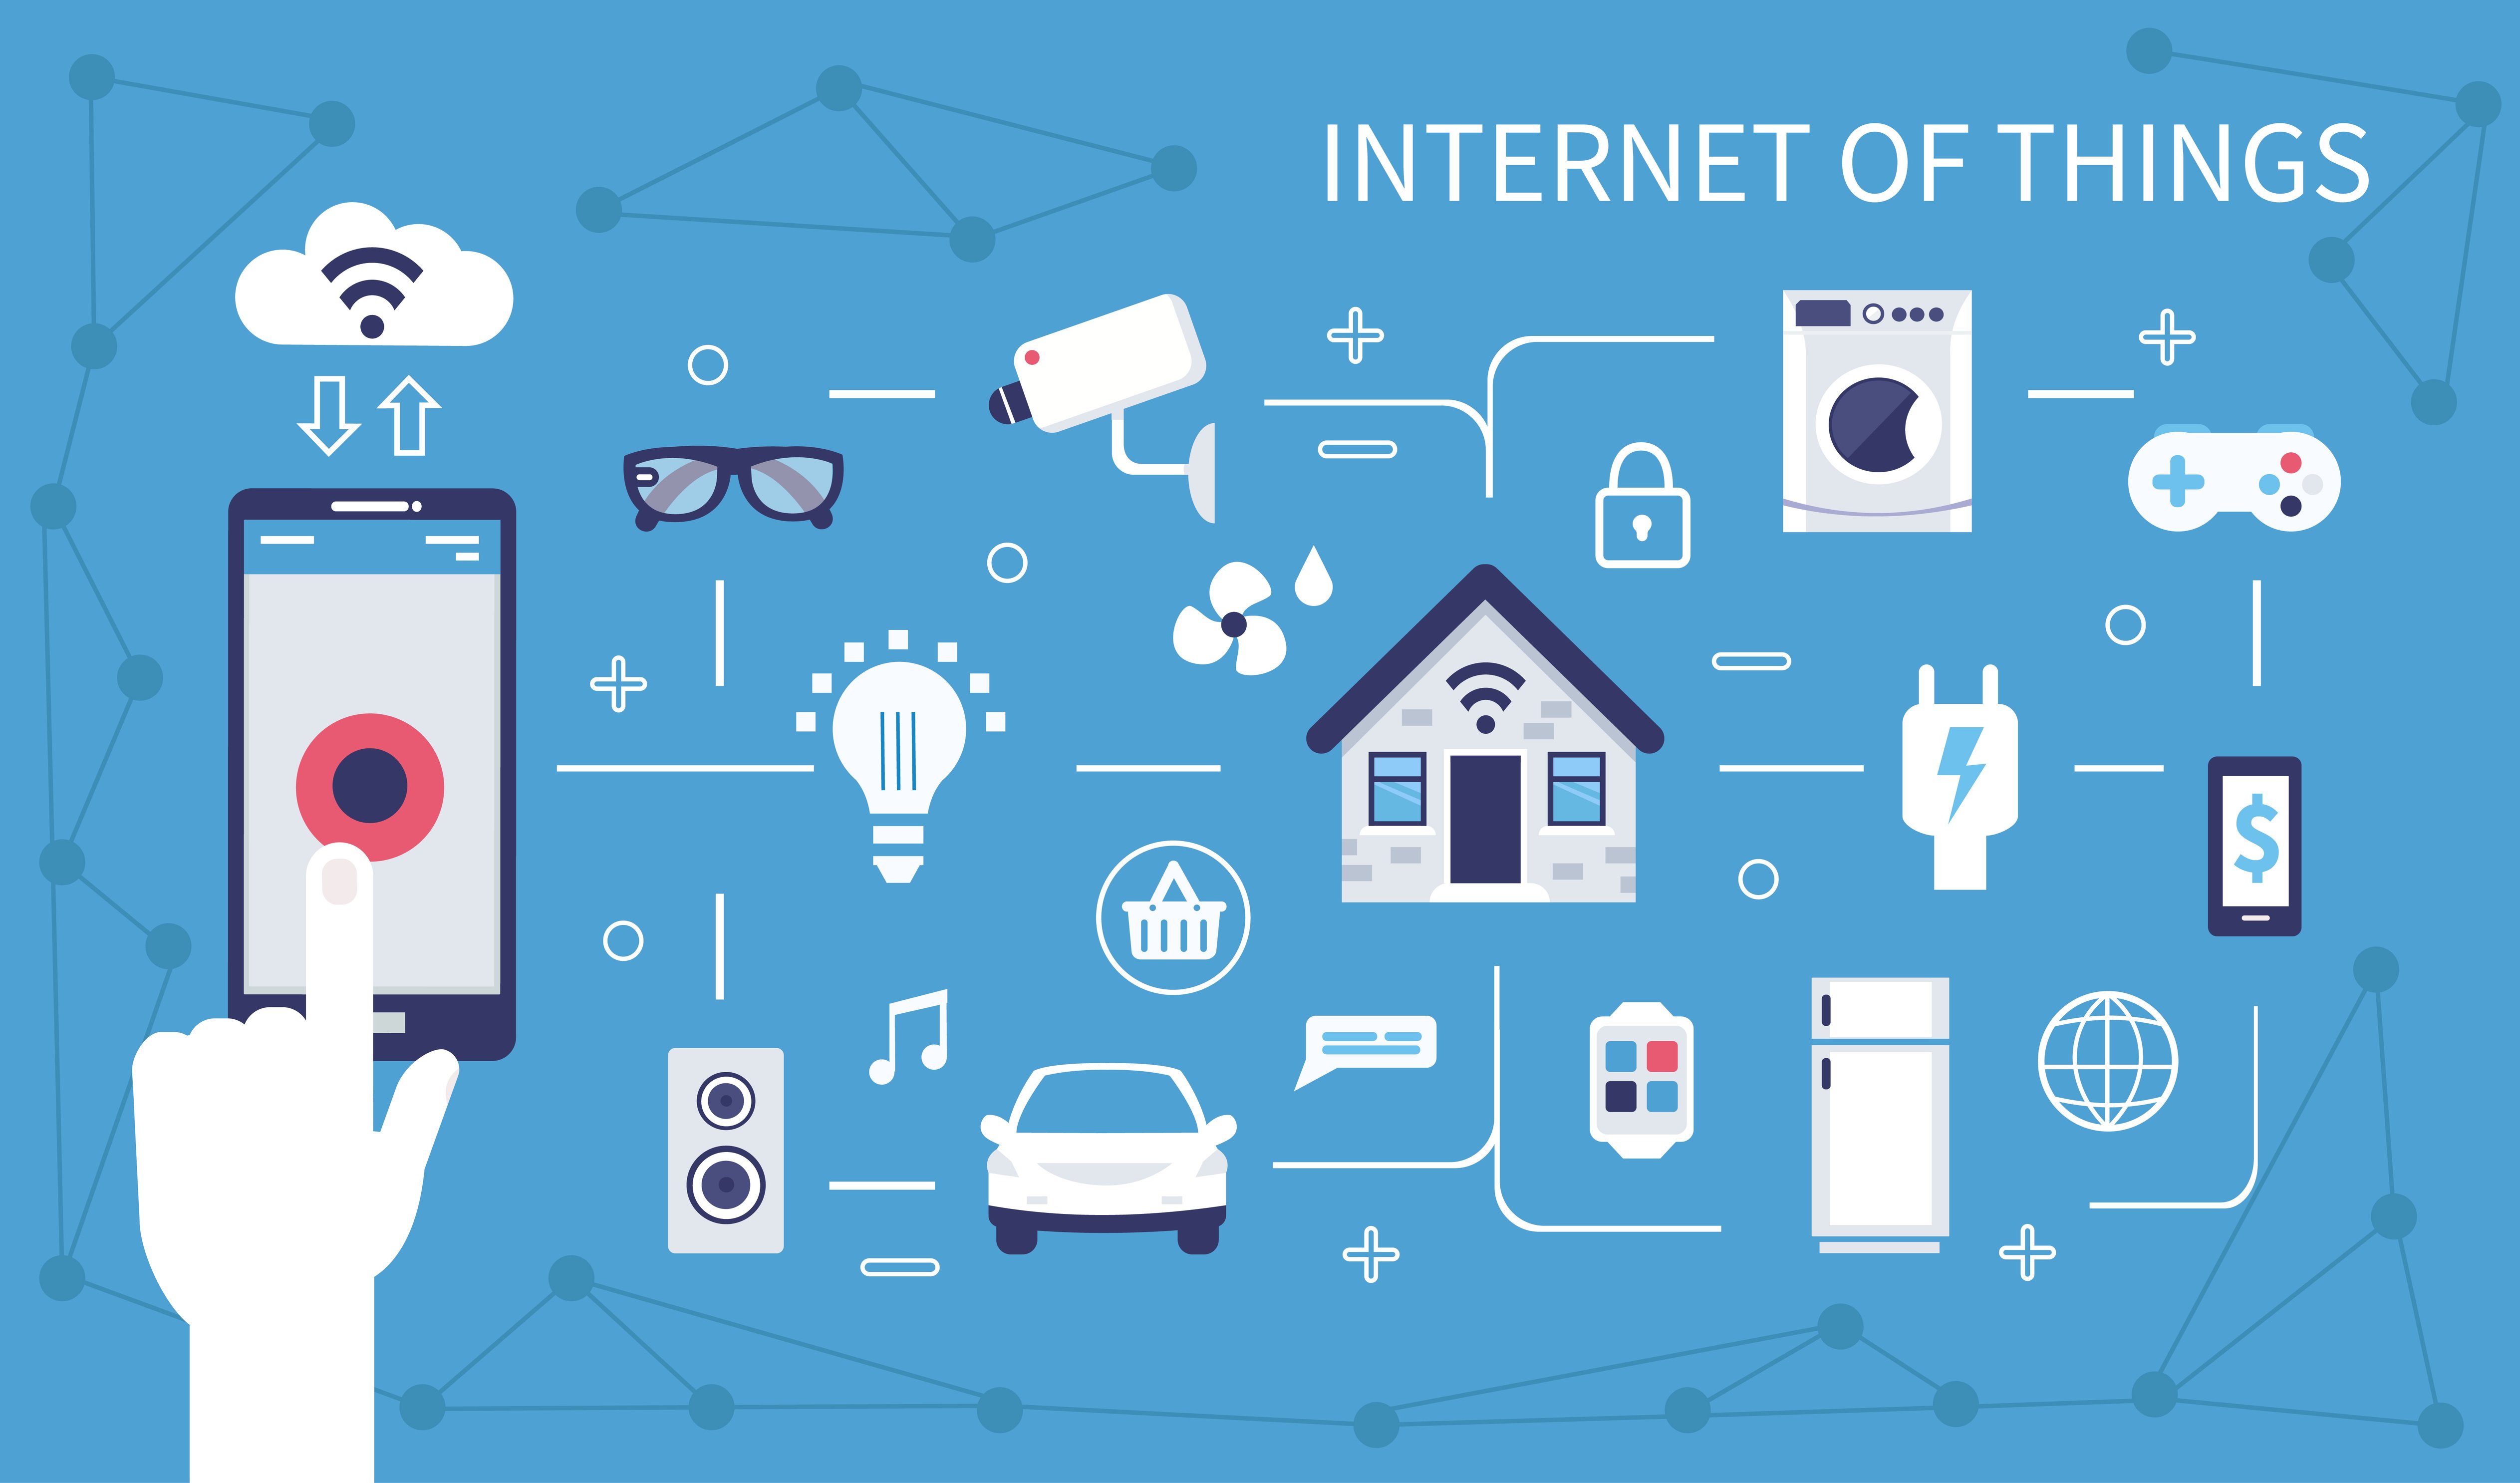
In the ever-evolving landscape of the Internet of Things (IoT), the ability to remotely access and control your devices is no longer a luxury but a necessity. Whether you're a tech enthusiast eager to build a smart home, an industrial professional managing remote systems, or simply someone who values the convenience of remote access, understanding how to navigate network configurations is crucial. When you're dealing with devices situated behind a router, the initial hurdles can seem daunting. Considerations regarding MAC addresses, port forwarding, and network security become paramount. However, with the right strategies and tools, these challenges can be overcome, opening up a world of possibilities for remote IoT management. One of the fundamental aspects of setting up this remote access involves correctly configuring the MAC addresses of your devices.
Before delving into the specifics of remote IoT access, it's important to understand the core principles. Your router acts as the gatekeeper to your network, and each device connected to it is assigned a unique identifier known as a MAC (Media Access Control) address. When you attempt to access your IoT devices remotely, youre essentially trying to get past this gatekeeper. Configuring your routers MAC settings is the initial step in ensuring your devices are recognized and connected properly. Most routers offer the ability to clone or modify MAC addresses, giving you granular control over how your devices interact with the network. This flexibility is crucial when setting up a remote access solution. By understanding the intricacies of MAC address configuration, you can establish a foundation for a secure and seamless remote access experience. This is especially true if you are attempting to access these devices without using Windows, opting instead for systems like macOS or Linux.
- Find Jamelizzz Linktree Onlyfans More Your Guide
- Stray Kids Ages Oldest To Youngest Bang Chan In More
Let's delve into the specific steps and tools that will allow you to access your IoT devices remotely, ensuring seamless operation while maintaining network security and data privacy. As the digital world continues to evolve, the demand for remote work and IoT applications has grown exponentially. By mastering remote access, you can monitor your home network, manage servers, or control your smart devices without being physically present. This knowledge will not only save you time and resources but also provide you with the peace of mind knowing that you're always in control of your devices. Remote access can allow you to access your home security cameras or smart thermostat from halfway around the world.
One of the key benefits of this method is the ability to bypass MAC address restrictions. Instead of registering each device manually, you can implement solutions that allow for a more streamlined and efficient configuration process. This not only saves time but also simplifies the maintenance and management of your IoT devices. A well-configured remote access system also enhances security by protecting your device's identity and ensuring that only authorized users can access your devices. In today's digital world, keeping your devices secure is more important than ever, and understanding the right techniques can ensure that you are always in control. Imagine being able to access your home security cameras or smart thermostat from halfway around the world. The possibilities are truly endless.
Using remote IoT behind a router without limitations is essential for those managing IoT devices. Here's how you can prepare your Mac for seamless IoT integration: Install necessary software like terminal and SSH clients; Configure port forwarding on your Mac if needed; and Use tools like ngrok or similar services to create public endpoints. Understanding the nuances of these steps will provide a seamless experience, whether you are managing IoT devices remotely or setting up a secure connection. Lets get started with a thorough guide that will enable you to tap into your devices full potential.
- Understanding Suicide Methods Important Information You Need To Know
- Is Iron Resurrection Returning In 2025 Latest Updates News
Understanding the fundamentals of remote IoT access is a prerequisite to any in-depth setup. At the heart of this understanding is the concept of network architecture. Your router acts as a gateway, assigning unique IP addresses to each connected device and serving as the central point for all network communications. When you want to access a device remotely, you're essentially trying to bypass the router's natural isolation. Setting up your Raspberry Pi is a crucial first step; it acts as a central hub for your IoT devices and handles the necessary communication. Configuring network settings involves assigning static IP addresses to your devices, which ensures that they remain accessible even when the network restarts. Enabling port forwarding involves configuring your router to direct incoming traffic to the specific devices on your network. And the use of dynamic DNS (DDNS) services, like No-IP or DuckDNS, helps you create a consistent and easy-to-remember domain name, which is especially useful if your internet service provider provides you with a dynamic IP address.
The process of setting up remote IoT access can be divided into several key steps. Firstly, you must prepare your Raspberry Pi by installing the necessary operating system and configuring the network settings. This includes assigning static IP addresses to each of your IoT devices, ensuring that the router can consistently identify and route traffic to them. Secondly, you need to configure port forwarding on your router, which allows external traffic to reach the specific devices on your network. This involves specifying the port numbers used by your IoT devices and mapping them to their respective internal IP addresses. Finally, using a DDNS service is highly recommended. These services provide a consistent domain name that automatically updates to reflect your dynamic IP address, making it easier to access your devices from anywhere. This is a fundamental requirement to access your devices remotely without relying on MAC address configurations.
Configuring the MAC address is crucial when using remote IoT behind a router. This ensures your devices are recognized and connected properly. Most routers allow you to clone or modify MAC addresses, giving you full control over how your devices interact with the network. Whether you're managing smart home devices, industrial IoT systems, or remote servers, the ability to use remote IoT behind a router without Windows can save time and resources. With the right strategies and tools, you can easily bypass these restrictions and ensure seamless remote access to your IoT devices. By following the steps outlined in this guide, you can achieve seamless remote access while maintaining network security.
Let's explore a practical example to demonstrate how to implement these steps. Consider a scenario where you have a smart home setup with multiple IoT devices connected to your home network. Your objective is to access these devices remotely from anywhere. First, you would prepare your Raspberry Pi by installing the necessary operating system and connecting it to your network. Then, you'd configure the network settings, assigning static IP addresses to each of your IoT devices and the Raspberry Pi itself. Next, you would configure port forwarding on your router, directing the traffic to specific ports to these devices. This would include the port numbers associated with your devices (e.g., port 80 for a web server, port 22 for SSH). Finally, you would set up a DDNS service to provide a consistent domain name to access your home network remotely. This will enable you to access your smart home devices by using a user-friendly domain name instead of an IP address.
The process doesn't stop at just setting up remote access. Security must be a top priority. Implement measures such as strong password policies, two-factor authentication, and regularly updating the firmware on your router and IoT devices. It's also recommended that you use a virtual private network (VPN) to encrypt your connection when accessing your devices remotely. These measures help protect your devices from unauthorized access and potential cyber threats. This ensures that you can continue to remotely manage and monitor your devices while maintaining a secure environment. Consider the potential risks and adopt a proactive approach to protect your data.
Remote access solutions can save time and resources. Imagine being able to access your home security cameras or smart thermostat from halfway around the world. By following the steps outlined in this guide, you can achieve seamless remote access while maintaining network security. The power of remote IoT is amplified when you have the knowledge and tools to configure your devices to work seamlessly. The key to unlocking the potential of remote IoT lies in understanding the underlying technical elements and applying them in a logical manner. From understanding the role of MAC addresses to configuring your router, each step plays an important role in enabling you to fully control your devices from anywhere in the world.
The journey of mastering remote IoT access is a continuous process of learning and adaptation. The technology landscape is constantly changing, with new tools and techniques emerging regularly. Embrace the learning process, experiment with different approaches, and stay updated with the latest advancements. This will help you create the most secure, efficient, and user-friendly remote IoT management system. The ability to access your IoT devices remotely is a valuable skill for anyone managing these devices. By setting up your Raspberry Pi, configuring network settings, enabling port forwarding, and using DDNS, you can control and monitor your IoT devices from anywhere.
In conclusion, accessing remote IoT devices behind a router without relying on Windows or MAC address restrictions is a straightforward process. The process involves setting up your Raspberry Pi, configuring network settings, enabling port forwarding, and using DDNS. This comprehensive guide provides all the information needed to successfully implement a remote IoT access solution. It will also help you navigate the various network limitations that you might encounter. Whether you're a tech enthusiast or just someone trying to set up a smart home, this article has something for everyone. By understanding the fundamentals, setting up your devices properly, and taking the necessary security precautions, you can transform your IoT devices into powerful tools that can be accessed and controlled from anywhere in the world.
Whether you're managing IoT devices remotely or setting up a secure connection, understanding how to use remote IoT behind a router mac without limitations is essential. This guide will walk you through every step of the process, ensuring you have a seamless experience. By learning how to use remote access raspberry pi behind router mac, you can monitor your home network, manage servers, or even control smart devices without being physically present.


Detail Author:
- Name : Asha Sawayn
- Username : nhessel
- Email : miles.shields@homenick.com
- Birthdate : 1975-06-29
- Address : 243 Jacobi Drive Suite 472 Hermanmouth, ID 99703
- Phone : +13412650492
- Company : Kassulke-Hane
- Job : Telemarketer
- Bio : Consequatur est iure perspiciatis voluptatem. Iure qui aut at expedita laudantium consequatur.
Socials
linkedin:
- url : https://linkedin.com/in/nils_official
- username : nils_official
- bio : Dolorum quae aut ipsam est et in.
- followers : 4561
- following : 2301
tiktok:
- url : https://tiktok.com/@nils5976
- username : nils5976
- bio : Excepturi veritatis aut maiores unde enim.
- followers : 2648
- following : 709
facebook:
- url : https://facebook.com/nilsmonahan
- username : nilsmonahan
- bio : Doloribus provident sed dolores deserunt.
- followers : 3888
- following : 2648
