Free SSH IoT Anywhere: Download & Secure Setup For Mac & More!
In an increasingly interconnected world, where the boundaries of physical presence are constantly being redrawn, can you truly manage your Internet of Things (IoT) devices from anywhere? The answer, remarkably, is yes, thanks to the power of Secure Shell (SSH) and the readily available tools to make it happen, all at your fingertips, often for free.
The ability to remotely access and control your IoT devices from across the globe offers unprecedented convenience and control. Whether you are a seasoned IT professional managing industrial systems or a curious developer exploring the vast potential of the IoT, the ability to securely connect to your devices is paramount. This is where SSH comes into play, providing a secure and encrypted channel for remote access.
Before diving into the specifics, let's clarify what SSH truly is. SSH, or Secure Shell, is a cryptographic network protocol that allows you to securely connect to a remote server or device. It provides a secure channel over an unsecured network, ensuring that all data transmitted between your device and the remote device is encrypted and protected from eavesdropping. This makes SSH an essential tool for remote management, especially when dealing with sensitive information or controlling critical systems.
- Mindy Kaling Her Life Relationships And Why Shes Thriving
- Stray Kids Ages Oldest To Youngest Bang Chan In More
The power of SSH lies in its flexibility and adaptability. It can be used for a wide range of purposes, from simple file transfers to complex system administration tasks. In the context of IoT, SSH enables you to:
- Remotely access and control your IoT devices.
- Monitor the status of your devices and networks.
- Securely transfer data between your devices and your computer.
- Troubleshoot and diagnose issues remotely.
- Update firmware and software on your devices.
The ability to establish a robust SSH connection is contingent on several crucial elements. First and foremost, the IoT device itself must be equipped with an SSH server and its service must be running. This service acts as the gatekeeper, waiting to receive and respond to secure connection requests. The device's IP address and port number play a vital role, serving as the specific location through which you will establish the connection. Ensuring the correct IP address and port number is akin to providing the correct address for a physical delivery: it's essential to ensure that the connection request reaches the intended destination.
Security is a fundamental concern. It is vital to verify the security credentials. This generally involves entering the correct username and password or using a public key configuration, which offers an even higher level of security by eliminating the need to transmit the password over the network. The configuration of the authentication methods is essential to prevent unauthorized access to your device and data.
Now, let's talk about getting this setup on your Mac. Fortunately, downloading and configuring SSH on your Mac is a relatively straightforward process. You can often find free SSH tools available for macOS.
To initiate the process, begin by locating the official website of the SSH client or tool that you wish to use. From the website, navigate to the download section. Select the version that is compatible with macOS. It's usually a matter of clicking a download button to initiate the installation process. This generally involves downloading an installer package and running it on your Mac. Once installed, you'll have access to a range of tools and functionalities to securely manage your IoT devices.
For instance, you can explore open-source SSH clients, or you might find user-friendly GUI-based tools that provide a more intuitive interface. The right choice depends on your technical comfort level and the specific requirements of your setup. No matter which tool you select, the primary goal is to provide a secure and reliable way to connect to your IoT devices remotely.
Regardless of the specific tool, the fundamental steps for setting up an SSH connection remain the same:
- Ensure the IoT device has SSH enabled: This might involve enabling SSH in the device's settings or installing an SSH server.
- Know the device's IP address and port: You'll need this information to connect.
- Choose an SSH client: (often, your mac already has built in SSH).
- Enter the device's credentials: Be sure to use a strong password or, even better, configure key-based authentication.
- Test the connection: Verify that you can successfully connect to the device and access its command line.
The process often includes the following steps:
- Visit the official website of your chosen SSH tool or client.
- Navigate to the download section of the website.
- Select the appropriate version compatible with macOS.
- Click the download button to begin the installation.
- Follow any on-screen prompts to complete the installation.
The choice between free and paid SSH tools comes down to your specific needs and budget. Free tools often provide all the essential functionalities for basic remote access and management. They might be adequate for personal projects or small-scale deployments. However, if you need advanced features, such as centralized management, advanced security features, or technical support, you might consider a paid solution. The paid options often provide a more polished user experience and may offer additional customization options.
Beyond just downloading and installing the tools, you must ensure the SSH service is running on your IoT devices. This typically involves configuring the device's network settings, and verifying that SSH is enabled in the device's operating system or firmware. The specific process will vary depending on the type of IoT device. Reviewing the device's documentation or online resources for its specific instructions is critical.
The question of whether to use SSH directly or to integrate it with a remote management platform is an important consideration. While direct SSH access offers a hands-on approach, remote management platforms often offer a more comprehensive and user-friendly solution. These platforms typically provide a web-based interface for managing multiple devices, as well as features such as device monitoring, configuration management, and automated updates. However, these platforms might come with subscription fees or require you to host your own infrastructure. Integrating SSH directly offers more control, but also adds to the responsibilities in terms of security and configuration.
For those seeking a reliable and straightforward way to access their IoT devices from anywhere, the free SSH download and setup process is a powerful tool. It grants the ability to remotely connect to your devices with convenience, flexibility, and, most importantly, security. The initial setup may seem a bit technical, but the benefits are often well worth the effort.
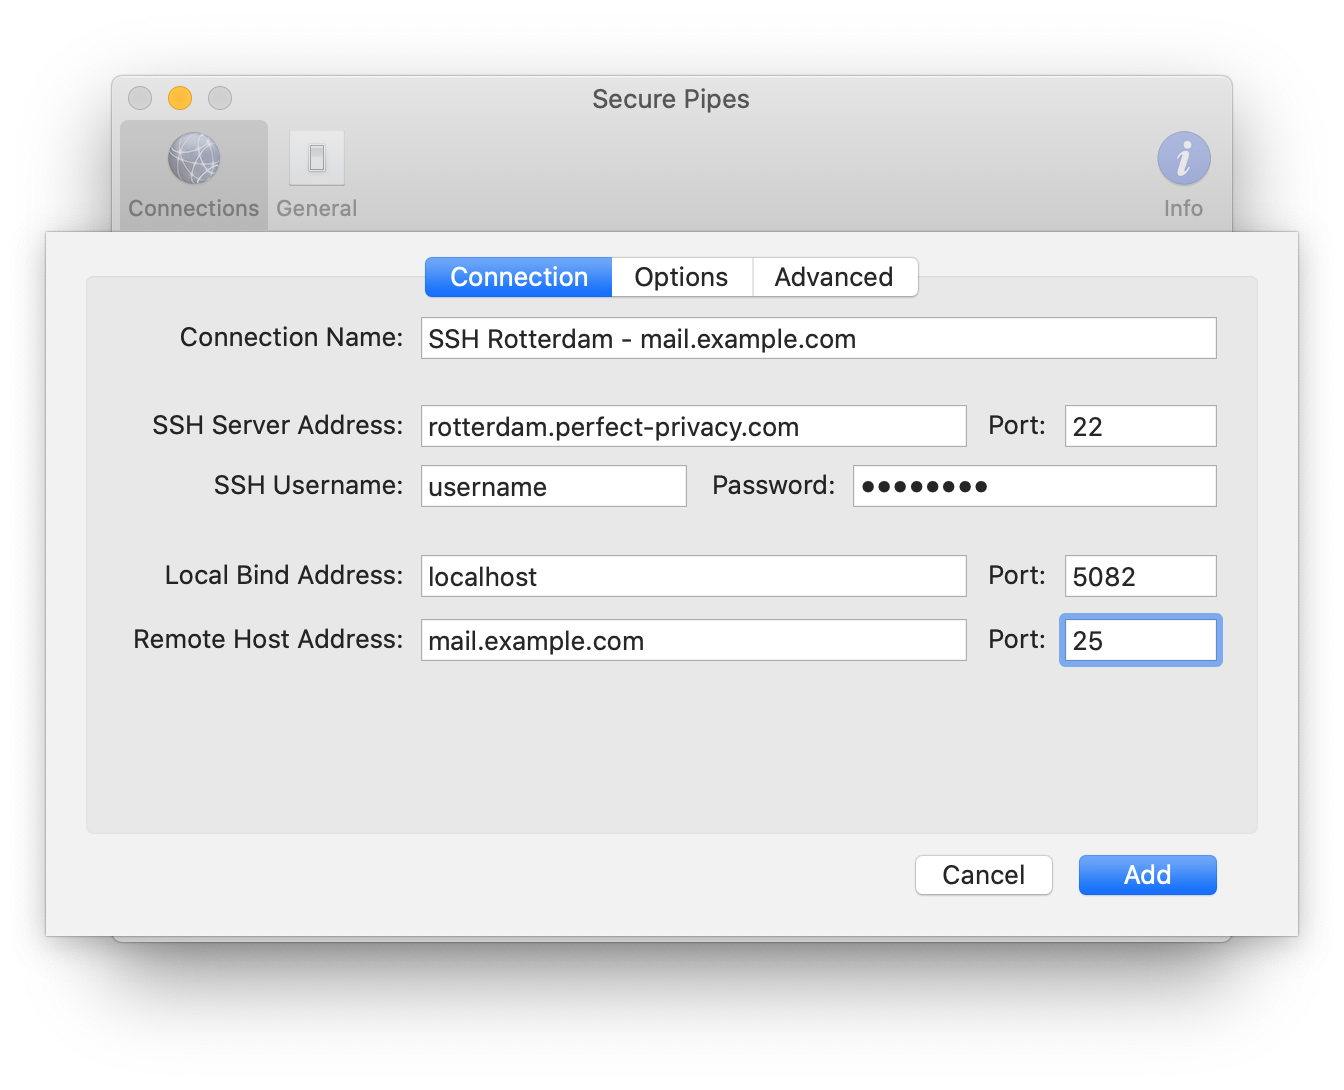
Once you have successfully downloaded and configured SSH, the next step is to establish the actual connection. This involves using an SSH client, such as the built-in terminal on macOS or a dedicated SSH client such as PuTTY (for Windows). You will need to provide the IP address or hostname of the IoT device, as well as the port number (usually 22). After entering the device's username and password, or using key-based authentication, you should be able to access the command line of the device. From there, you can perform a range of tasks, such as checking the status of the device, updating its firmware, or managing its settings. When you are finished, remember to properly disconnect your SSH session to ensure the security of your device and data.
When configuring SSH, a few best practices can significantly enhance your security posture. First, use strong, unique passwords for your IoT devices. If possible, enable key-based authentication, which is more secure than passwords. Consider changing the default SSH port (port 22) to a non-standard port to reduce the risk of automated attacks. Regularly update the SSH software on both your local device and your IoT devices to patch any security vulnerabilities. Keep a log of your SSH connections and monitor them for any suspicious activity. Implementing these best practices significantly enhances the security of your remote connections and protects your devices from potential threats.
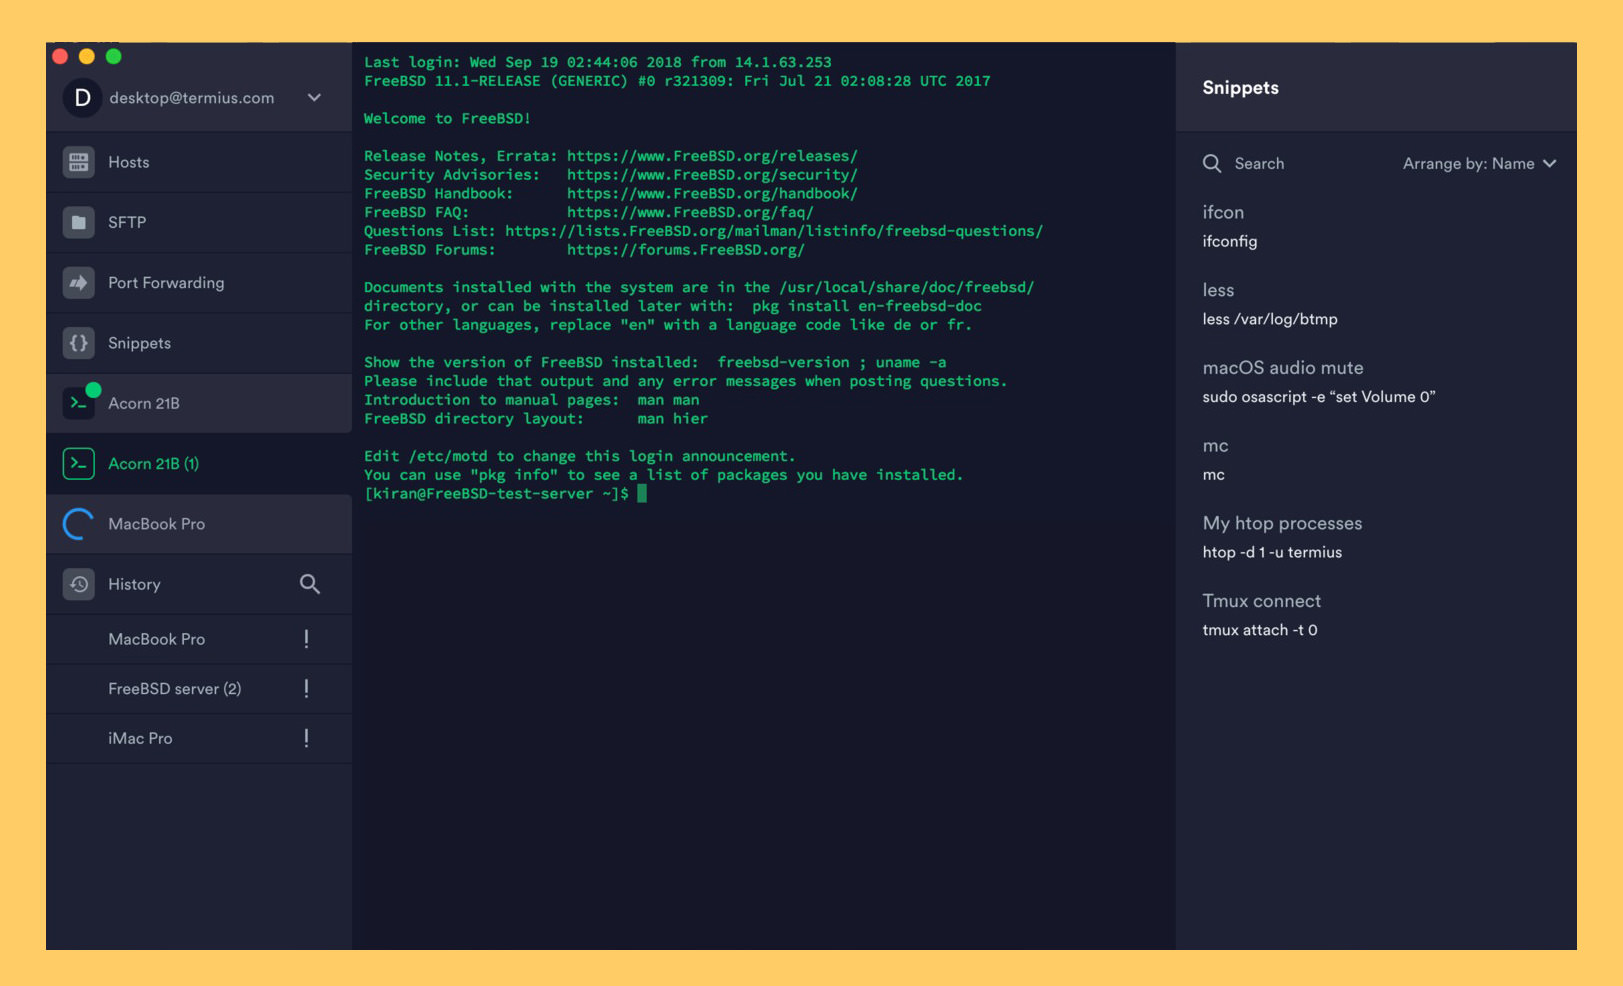
Many tools are available for free. One option is to use the built-in SSH client on your Mac through the terminal application. This tool comes pre-installed and can be used directly from the command line. Other free SSH clients are available for download, offering a more user-friendly interface with more advanced features. When selecting a free tool, be sure to download it from a reputable source and review its features to determine if it meets your needs.
Troubleshooting SSH connection issues can be a frustrating process, but it is important to be systematic. If you cannot connect to your device, start by verifying that the device is powered on and connected to the network. Double-check that the IP address and port number are correct and that the SSH service is running on the device. Check the device's firewall to ensure that it is not blocking SSH traffic. If you are using key-based authentication, verify that the public key is correctly configured on the device. If the connection still fails, try restarting the SSH service on the device and then restarting your SSH client. If the issue persists, consult the documentation for your specific SSH client and device for more advanced troubleshooting steps.
The main advantage of using SSH is the ability to securely access devices from anywhere with an internet connection. SSH allows you to remotely manage your devices as if you were sitting in front of them, without the limitations of geographical constraints. This is a fundamental difference from physical access, which can be inconvenient or impossible. SSH provides flexibility, allows for remote system administration, and grants the ability to monitor and troubleshoot devices in real time, all from your Mac.
The choice between SSH and other remote access methods, such as Virtual Private Networks (VPNs) or remote desktop software, depends on your needs. SSH is generally preferred for command-line access and for secure file transfers. VPNs offer a more comprehensive solution by creating a secure network connection between your device and the remote network. Remote desktop software provides a graphical interface for accessing a remote computer. Understanding the advantages and disadvantages of each method can assist you in selecting the right solution for your particular use case.
In the context of the increasingly sophisticated threat landscape, understanding and implementing secure remote access strategies is no longer optional but a fundamental security requirement. Proper configuration of SSH, coupled with a commitment to best practices, will help safeguard your devices and network from unauthorized access. As you build your remote access strategy, think about the specific security needs of your IoT devices, including the sensitivity of the data, the level of control that needs to be exercised, and the specific risks that you are trying to mitigate.
In conclusion, leveraging SSH is essential for the effective and secure management of IoT devices. This guide has provided the key steps and the necessary information for downloading, configuring, and using SSH for remote access on your Mac. By following these guidelines and regularly updating your approach, you can create a secure, flexible, and convenient remote management platform for all your IoT needs. It is an incredibly valuable skill that enhances both security and productivity in this connected era.

Detail Author:
- Name : Ocie Wisoky
- Username : nathaniel58
- Email : qschumm@hotmail.com
- Birthdate : 1992-05-25
- Address : 229 Tessie View Suite 366 West Rowanfurt, CT 35867
- Phone : (503) 394-8065
- Company : Koepp-Kilback
- Job : Molding and Casting Worker
- Bio : Consequuntur repellendus aliquid vel quasi officiis dolorum neque. Molestias odio velit ea et eius et suscipit. Consectetur cupiditate recusandae blanditiis voluptates.
Socials
twitter:
- url : https://twitter.com/sipesa
- username : sipesa
- bio : Ut consequatur nemo quidem dolores. Officiis voluptatem consequuntur beatae qui deserunt error. Dolores minus dolor exercitationem.
- followers : 5005
- following : 2977
tiktok:
- url : https://tiktok.com/@sipesa
- username : sipesa
- bio : Qui maxime sequi quibusdam aut. Natus aut ipsam ea at adipisci est aperiam.
- followers : 3524
- following : 834
