Free Guide: Remote IoT Behind Router (Mac) - No Windows!
Are you wrestling with the challenge of accessing your Internet of Things (IoT) devices remotely when they're tucked behind a router, and without the familiar comfort of a Windows operating system? Then, prepare to be relieved, because achieving this is not only possible, but remarkably achievable, and this article will be your comprehensive guide to making it happen.
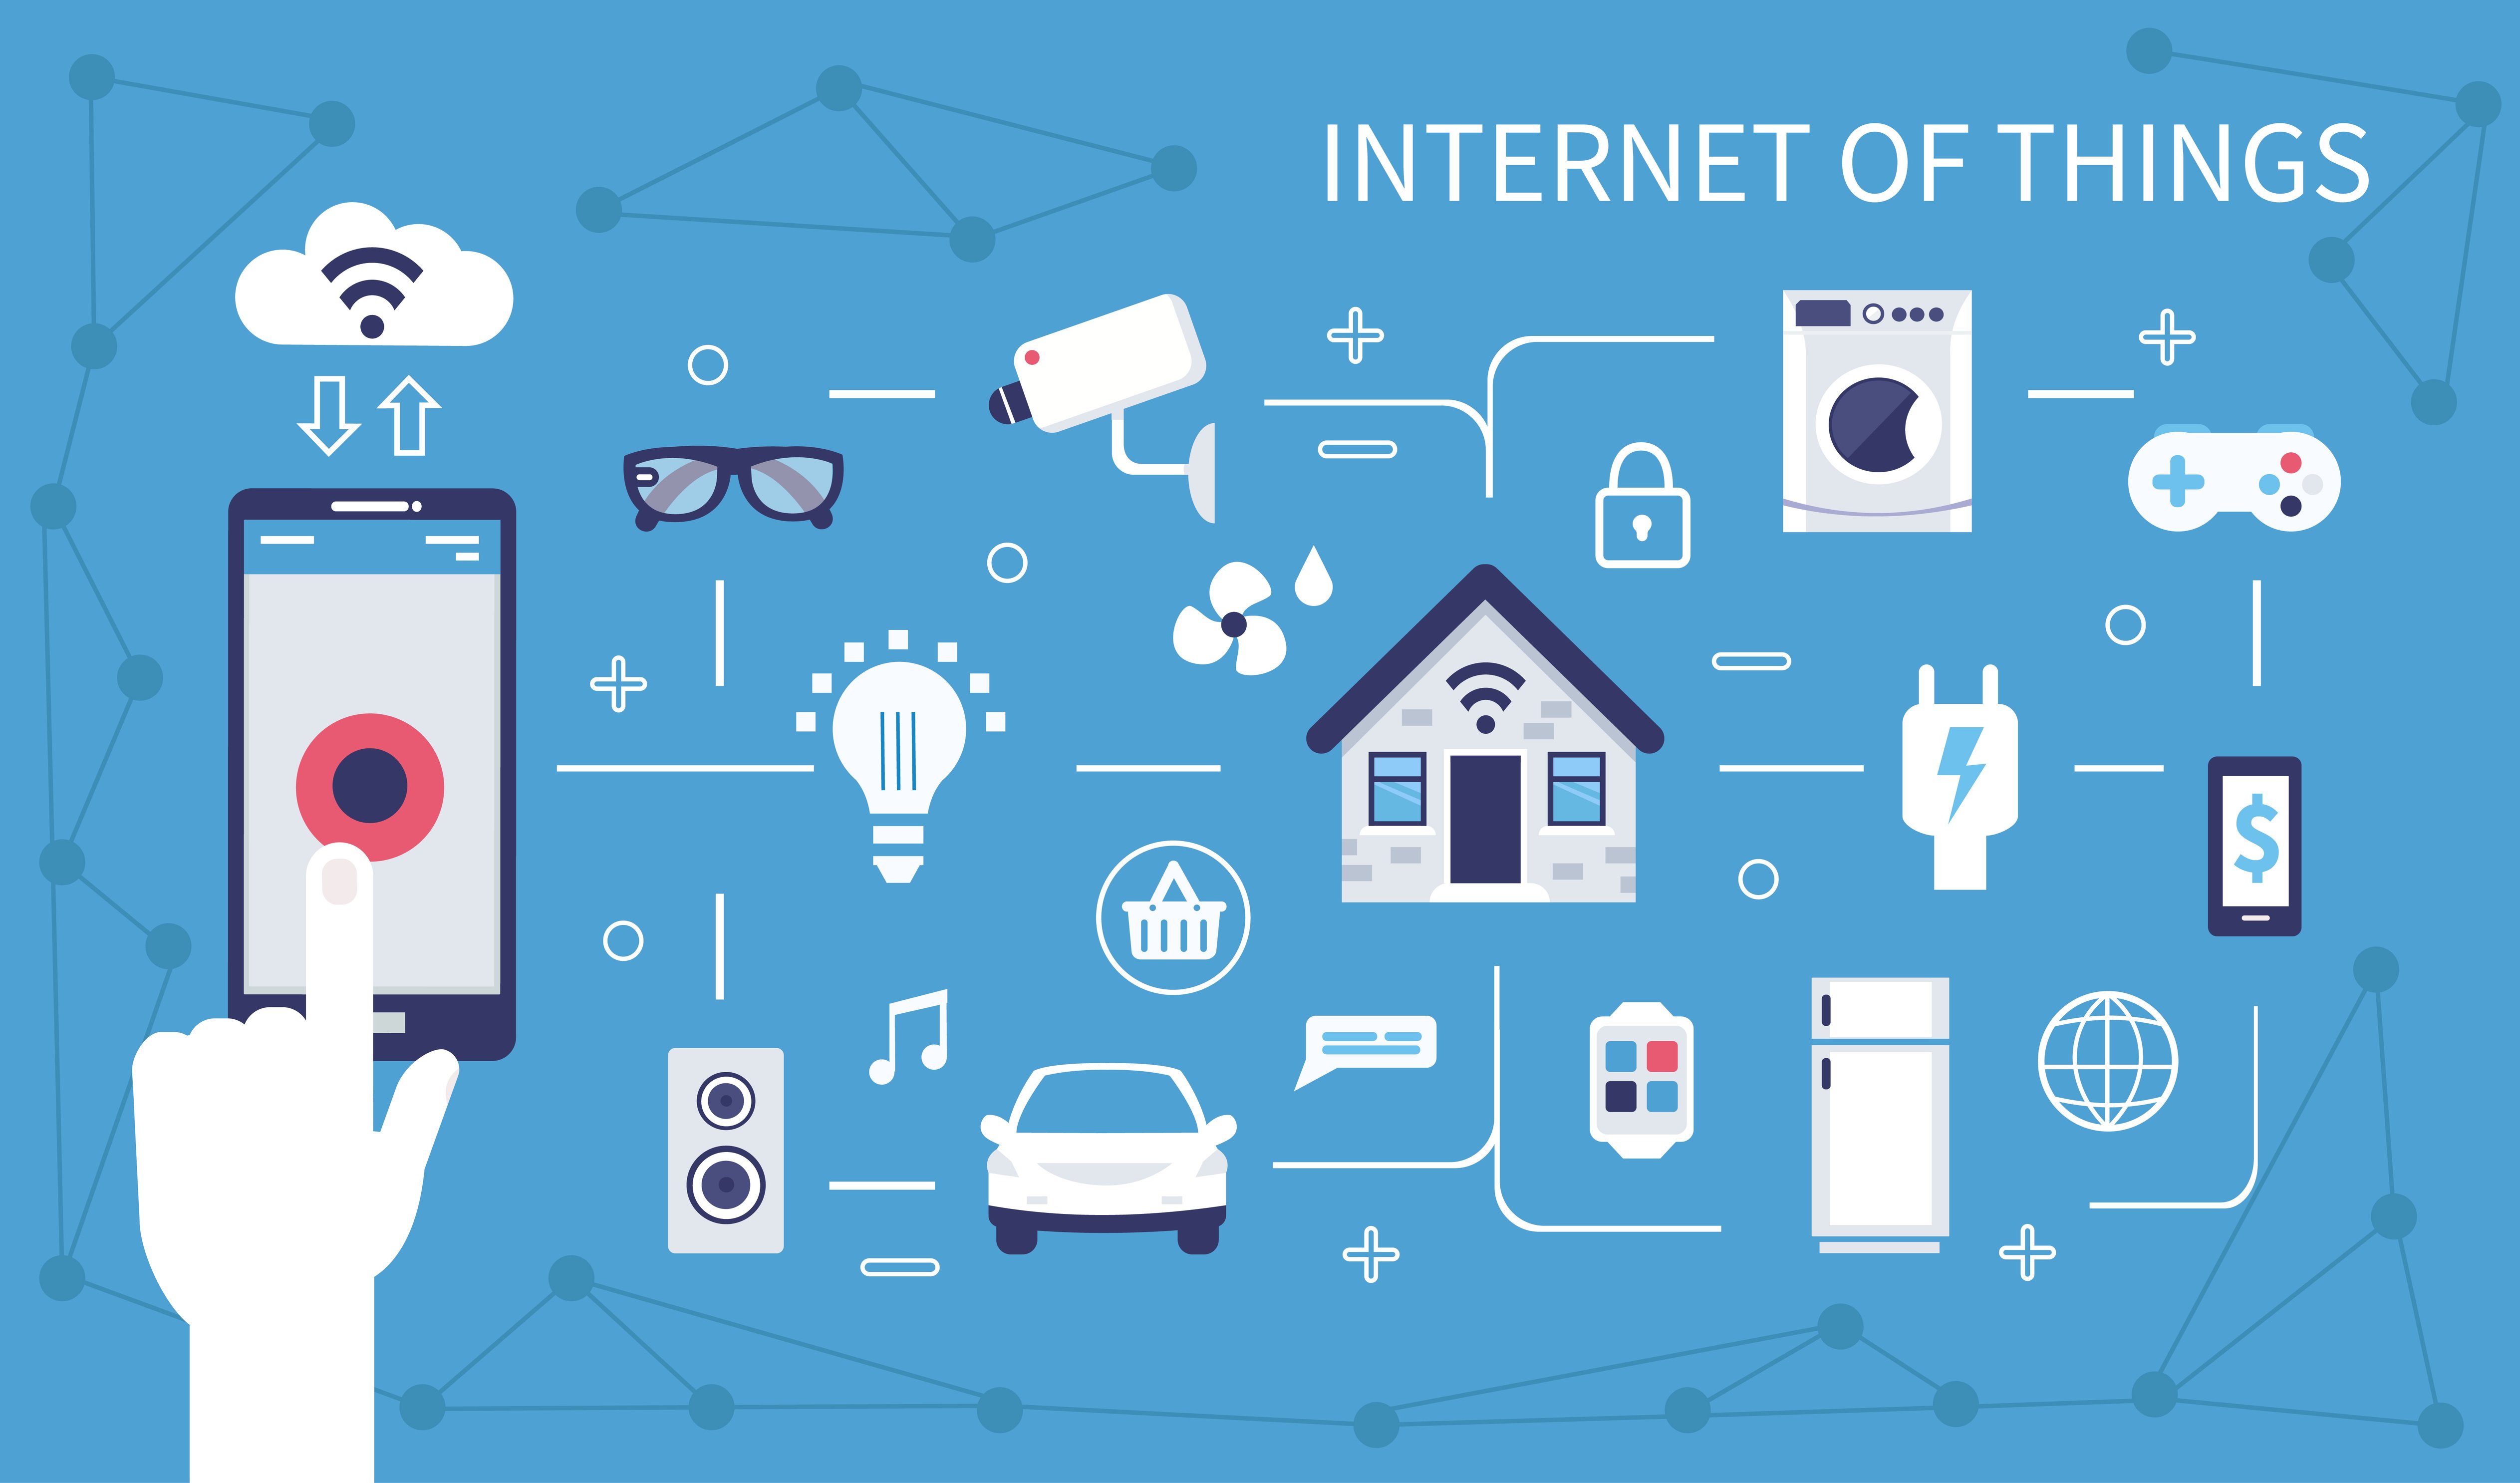
In todays interconnected world, IoT devices have woven themselves into the fabric of our daily routines. From smart home appliances that anticipate our needs to industrial sensors monitoring critical processes, these devices are constantly collecting data and responding to commands. However, gaining remote access to these devices can often feel like navigating a complex labyrinth, especially when network configurations and operating system limitations come into play. This is where the focus of this article lies: to show you how to use remote IoT behind a router, focusing on a Mac environment without relying on Windows, and all without spending a single penny.
Before we delve into the specifics, its important to understand the core components involved. Your router acts as the gatekeeper of your network, the first line of defense and control. IoT devices, in this scenario, are the valuable assets you want to access remotely. The absence of Windows adds a layer of complexity but opens up opportunities to explore alternative, often more streamlined, approaches. The goal is secure and reliable access to your IoT devices from anywhere in the world. The solution lies in the careful configuration of your router's settings, particularly the MAC address filtering, port forwarding, and the strategic use of tools like SSH (Secure Shell).
- Methstreams Free Live Sports Streams Watch Nfl Nba Ufc More
- Stray Kids Age Facts Your Guide To Skz Members
Let's cut to the chase: remote access to IoT devices behind a router without Windows isn't rocket science, but it does demand a degree of precision. The key is to approach the problem with a clear understanding of the network architecture and a willingness to experiment.
Here's a breakdown of the essential steps involved. Consider your router as the initial point of contact to your network. Think of your IoT devices as the crucial entities trying to be part of the network. To make this happen, you need to properly configure your router's MAC settings. This involves identifying the MAC address of each of your IoT devices, logging in to your routers admin panel and whitelisting these devices in the MAC filter. Following these steps will allow you to easily connect to your device.
To give you a clearer picture of the steps and whats needed, take a look at this straightforward and easy to follow guide to start connecting to your IoT devices:
- Gorecentercom Is It Safe Risks Legitimacy Amp Safety Guide
- Dive Into Retro Bowl Unblocked Cheats College Fun
- Identify the MAC Address: Every IoT device has a unique MAC address. You'll need this to identify it on your network. You can often find the MAC address on the device itself, in its settings, or within your router's connected device list.
- Access Router's Admin Panel: Log into your router's admin panel. Youll typically access this through a web browser using the routers IP address (often 192.168.1.1 or 192.168.0.1) and your admin credentials.
- Whitelist the Device: Locate the MAC address filtering or access control settings within your router's admin panel. Whitelist (allow) the MAC addresses of your IoT devices. This ensures the router permits their connection.
- Set Up Port Forwarding: In the router's admin panel, set up port forwarding rules. This directs incoming network traffic from specific ports to the internal IP addresses of your IoT devices. You will need to determine which ports your IoT devices use for remote access.
- Test the Connection: Use a terminal or SSH client on your Mac to test the connection. Type in your public IP address and the port that you previously set up.
Now, let's get into more detail.
The router is the central point for managing your network traffic. Its configuration dictates who can access your network and what resources are available. Understanding this is paramount. To set up remote IoT access, you'll primarily work with two key features: MAC address filtering and port forwarding.
MAC Address Filtering: MAC (Media Access Control) addresses are unique identifiers assigned to network interfaces. MAC address filtering allows you to control which devices are allowed to connect to your network. By default, a router might block devices based on their MAC addresses. Whitelisting the MAC addresses of your IoT devices ensures they are permitted to connect.
Port Forwarding: This is the process of redirecting network traffic from a specific port on your router's public IP address to a specific device on your local network. For remote access, you'll configure port forwarding rules to direct traffic destined for your IoT devices. You will need to identify the ports the IoT devices use for remote access this will be specific to the particular device and the remote access protocol it uses.
Understanding the Tools: Secure Shell (SSH) is a vital instrument for secure remote access. SSH allows you to establish an encrypted connection to a device on your network. This is essential when you access your IoT devices remotely, ensuring the privacy and integrity of your data. A terminal or SSH client (available on macOS) will be your interface to interact with the device remotely.
Step-by-Step Guide:
- Find Your Public IP Address: This is the IP address that your router uses to communicate with the internet. You can find it by searching in a search engine (e.g., "what is my IP") or by checking your router's status page.
- Access Your Router's Admin Panel: Open a web browser and enter your router's IP address (usually 192.168.1.1 or 192.168.0.1). Enter your username and password to log in.
- Identify IoT Device MAC Addresses: Find the MAC addresses of your IoT devices. This information is typically available on the device itself, in the device's settings, or in your router's connected device list.
- Configure MAC Address Filtering (Whitelisting): Locate the MAC address filtering or access control settings in your router's admin panel. Add the MAC addresses of your IoT devices to the whitelist.
- Configure Port Forwarding: Navigate to the port forwarding section of your router's configuration. Create rules for each IoT device and the ports it uses for remote access (e.g., port 80 for HTTP, port 22 for SSH). Set the internal IP address to your device's local IP address and choose the necessary protocol (TCP or UDP).
- Test the Connection: Open a terminal or SSH client on your Mac. Use the command `ssh username@your_public_ip -p port_number` to connect to your device. Replace `username` with the username on the device, `your_public_ip` with your router's public IP address, and `port_number` with the port number you configured for port forwarding.
Beyond Basic Steps:
Several factors can complicate the process, including firewalls, VPNs (Virtual Private Networks), and the type of IoT device youre trying to access. Let's look at some of the complications you might encounter.
Firewall Considerations: Firewalls, both on the router and potentially on the IoT device itself, can block incoming connections. Ensure that the firewall is configured to allow traffic on the ports youve forwarded. This might involve creating exceptions in the firewall settings.
Using a VPN for Enhanced Security: Using a VPN adds an extra layer of security by encrypting all network traffic. This is especially helpful when accessing IoT devices from public Wi-Fi networks. Set up a VPN server on your home network (e.g., using a Raspberry Pi) or use a commercial VPN service.
Dynamic DNS Services: Your public IP address might change over time. Dynamic DNS (DDNS) services provide a consistent hostname, so you don't need to update your connection settings whenever your IP address changes. Popular DDNS services are available for free or paid subscription.
Raspberry Pi as a Central Hub: If you have a Raspberry Pi, consider using it as a central hub for your IoT devices. You can set up SSH access to the Raspberry Pi, and then access your IoT devices from there. This method adds an extra layer of security and simplifies management.
Troubleshooting:
What if something goes wrong? Here's how to troubleshoot the most common issues:
- Check the Basics: Make sure your IoT devices are connected to the network and powered on.
- Verify IP Addresses: Confirm that you've entered the correct internal IP addresses for your IoT devices in the port forwarding settings.
- Double-Check Port Numbers: Ensure you're using the correct port numbers for remote access. Consult the documentation for your specific devices.
- Test Port Forwarding: Use online port checkers (available through a simple search) to confirm that the ports are open and accessible from the internet.
- Review Router Logs: Examine your router's logs for any error messages related to connections or access attempts.
- Check Firewalls: Ensure that both your router's and the IoT device's firewalls allow incoming connections on the specified ports.
- Restart Devices: Sometimes, a simple restart of your router and IoT devices can resolve connectivity issues.
Practical Examples:
Let's consider some common scenarios:
- Smart Home Devices: If you have smart lights, you might need to forward ports 80 or 443 for HTTP access. If you have a hub that supports SSH, port 22 might be necessary.
- Security Cameras: Security cameras often use specific ports for video streams (e.g., RTSP). You'll need to find the correct port numbers in the camera's documentation and configure port forwarding accordingly.
- Industrial Sensors: Industrial IoT devices might use custom ports and protocols. Refer to the device's documentation to determine the necessary ports.
Advantages of the Mac Environment:
While this guide focuses on a Windows-free approach, the macOS environment offers several advantages:
- Built-in SSH Client: macOS includes a powerful built-in SSH client, eliminating the need for third-party software.
- User-Friendly Interface: macOS provides an intuitive interface for managing network settings and accessing the terminal.
- Cross-Platform Compatibility: macOS can be used with devices that operate on various platforms.
- Excellent Security: macOS has a strong security reputation.
Security Considerations and Best Practices:
- Change Default Credentials: Immediately change the default username and password on your router to something unique and strong.
- Use Strong Passwords: Employ strong, unique passwords for your IoT devices and SSH access.
- Keep Firmware Updated: Regularly update your router's firmware to patch security vulnerabilities.
- Enable Encryption: Always use encrypted connections (SSH or HTTPS) for remote access.
- Limit Exposure: Only forward the ports that are absolutely necessary for remote access.
- Monitor Network Traffic: Regularly review your router's logs for suspicious activity.
- Implement Two-Factor Authentication: If your IoT devices or services support it, enable two-factor authentication for an added layer of security.
Free of Charge Tools and resources that will help:
- Your Mac: You don't need to pay a single penny for any type of software.
- Your Router: You already have it and you can use it for free.
- Your Internet Service Provider: Access to your IP address and to your network.
- Online port checkers: You can easily search online to see if your ports are opened.
- Documentation from Your IoT device's Company: This will give you access to all the information on how to set up the correct port to reach your device
- Online forums and documentation from Apple: You will find plenty of tutorials if you have any issue in your Mac.
Embracing the Power of Remote IoT:
Mastering the art of remote IoT access without Windows allows you to harness the full potential of your smart devices. By carefully configuring your router, utilizing tools like SSH, and implementing robust security measures, you can establish a secure and reliable connection, saving you time and resources. As the digital landscape continues to evolve, your ability to manage devices remotely will become increasingly crucial.
Conclusion:
By understanding the key components involved, following the step-by-step guide, and implementing the necessary security measures, you can take complete control of your smart devices, all without relying on a Windows environment. This capability empowers you to monitor, control, and interact with your devices from anywhere in the world, ensuring you remain connected and in command, no matter where life takes you.


Detail Author:
- Name : Mr. Bell Sipes
- Username : cecile66
- Email : petra.wuckert@yahoo.com
- Birthdate : 1986-05-26
- Address : 4832 Jarrett Locks Swaniawskiburgh, WI 22437
- Phone : +13469800948
- Company : Keebler, Waelchi and Schmidt
- Job : Welder and Cutter
- Bio : Illum odio architecto deleniti voluptatum sint consectetur. Sit quo debitis eveniet aut quia ut laboriosam. Ab quia et consequatur vero optio veniam quia porro.
Socials
facebook:
- url : https://facebook.com/maudo'kon
- username : maudo'kon
- bio : Iure id non debitis enim. Eum corrupti sunt amet debitis ut.
- followers : 1769
- following : 1556
twitter:
- url : https://twitter.com/maud_dev
- username : maud_dev
- bio : Magnam quo cumque et. Aut dolorem provident expedita dolores autem placeat. Rerum quam sunt libero.
- followers : 3667
- following : 2494
linkedin:
- url : https://linkedin.com/in/o'konm
- username : o'konm
- bio : Vel necessitatibus sed amet doloremque in at.
- followers : 2611
- following : 2222
tiktok:
- url : https://tiktok.com/@maud.o'kon
- username : maud.o'kon
- bio : Fuga et et atque voluptatibus.
- followers : 3396
- following : 2161

 devices remotely when they're tucked behind a router, and without the familiar c)